

Yesterday, Microsoft unveiled Windows 11, the latest iteration of its operating system after six years. It comes with a whole lot of visual and under the hood changes. Windows 11 intrigued many, and chances are you’re one of them, and you want to try it out, but you’ve got a Mac, especially the one with M1 Chip.
Well, it’s pretty easy to run Windows on an Intel-powered Mac using BootCamp. However, things get considerably complicated with the newer M1 powered Macs. But no need to worry; you can get the taste of Windows 11 using the app called UTM.
Unlike other virtual desktop software, UTM is mainly designed for macOS. Moreover, UTM supports both Intel and M1 powered Macs and can emulate various processors, including ARM32, MIPS, PPC, and RISC-V. The UTM is built upon the QEMU, which is a free and open-source virtualizer.
Here’s how you can install windows 11 on M1 Mac/MacBook using the UTM.
Also Read: Jabra Elite 85T Review – The Best AirPods Alternative for Android
How to Install Windows 11 on M1 Mac
- Download the UTM application from the official website or App Store.
- Double click UTM.dmg.
- Now drag and drop the UTM app icon from the UTM folder to the Applications folder.
- Open the UTM app.
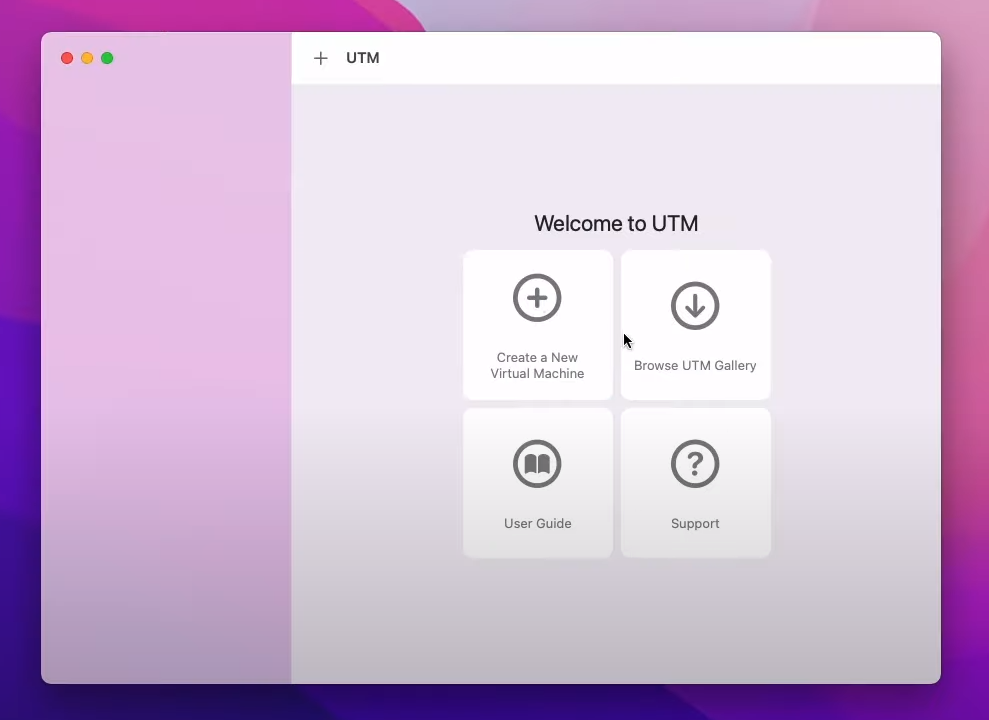
- Next, click Create a New Virtual Machine, then enter a name for the VM and click on Save.
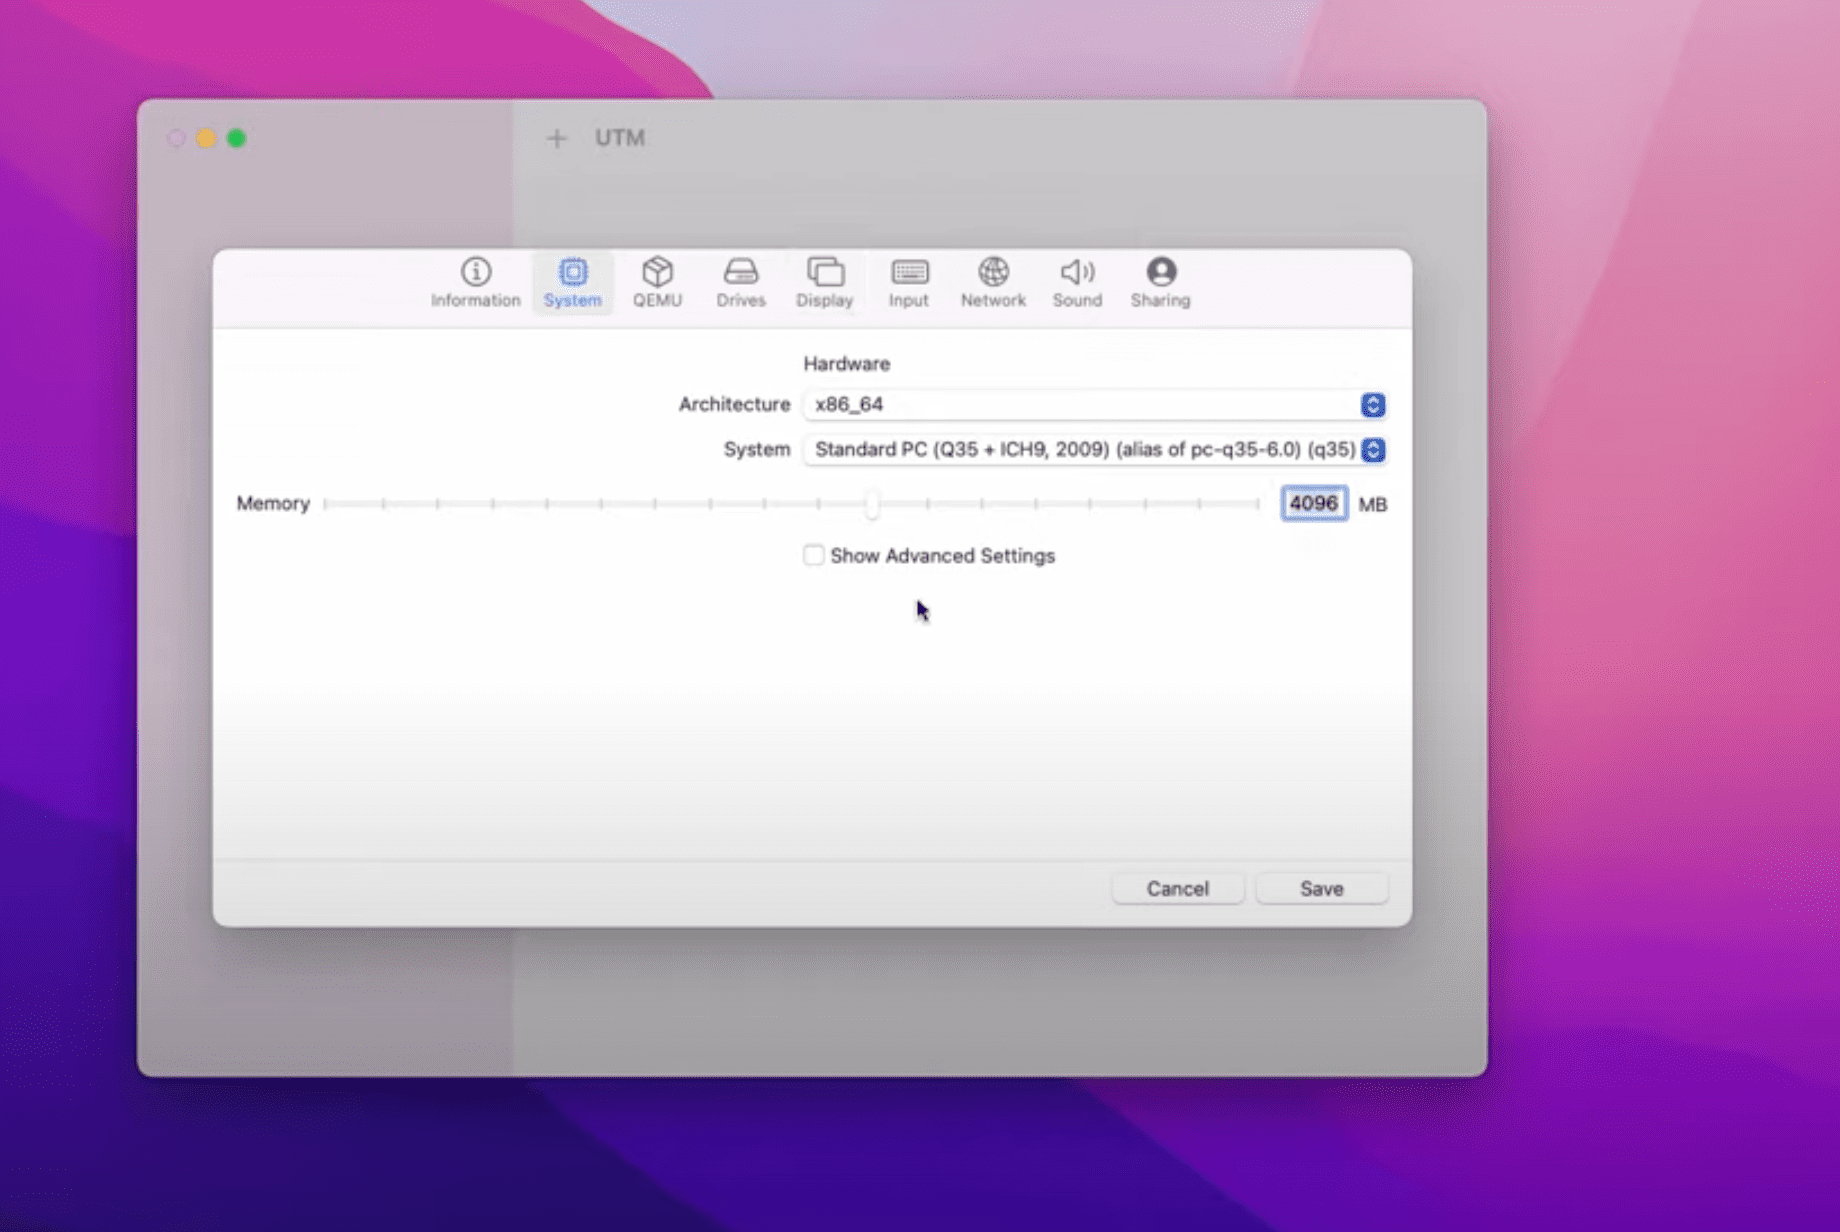
- Head over to the Systems tab, make sure x86_64 Architecture is selected, and allocate a minimum of 4GB of RAM.
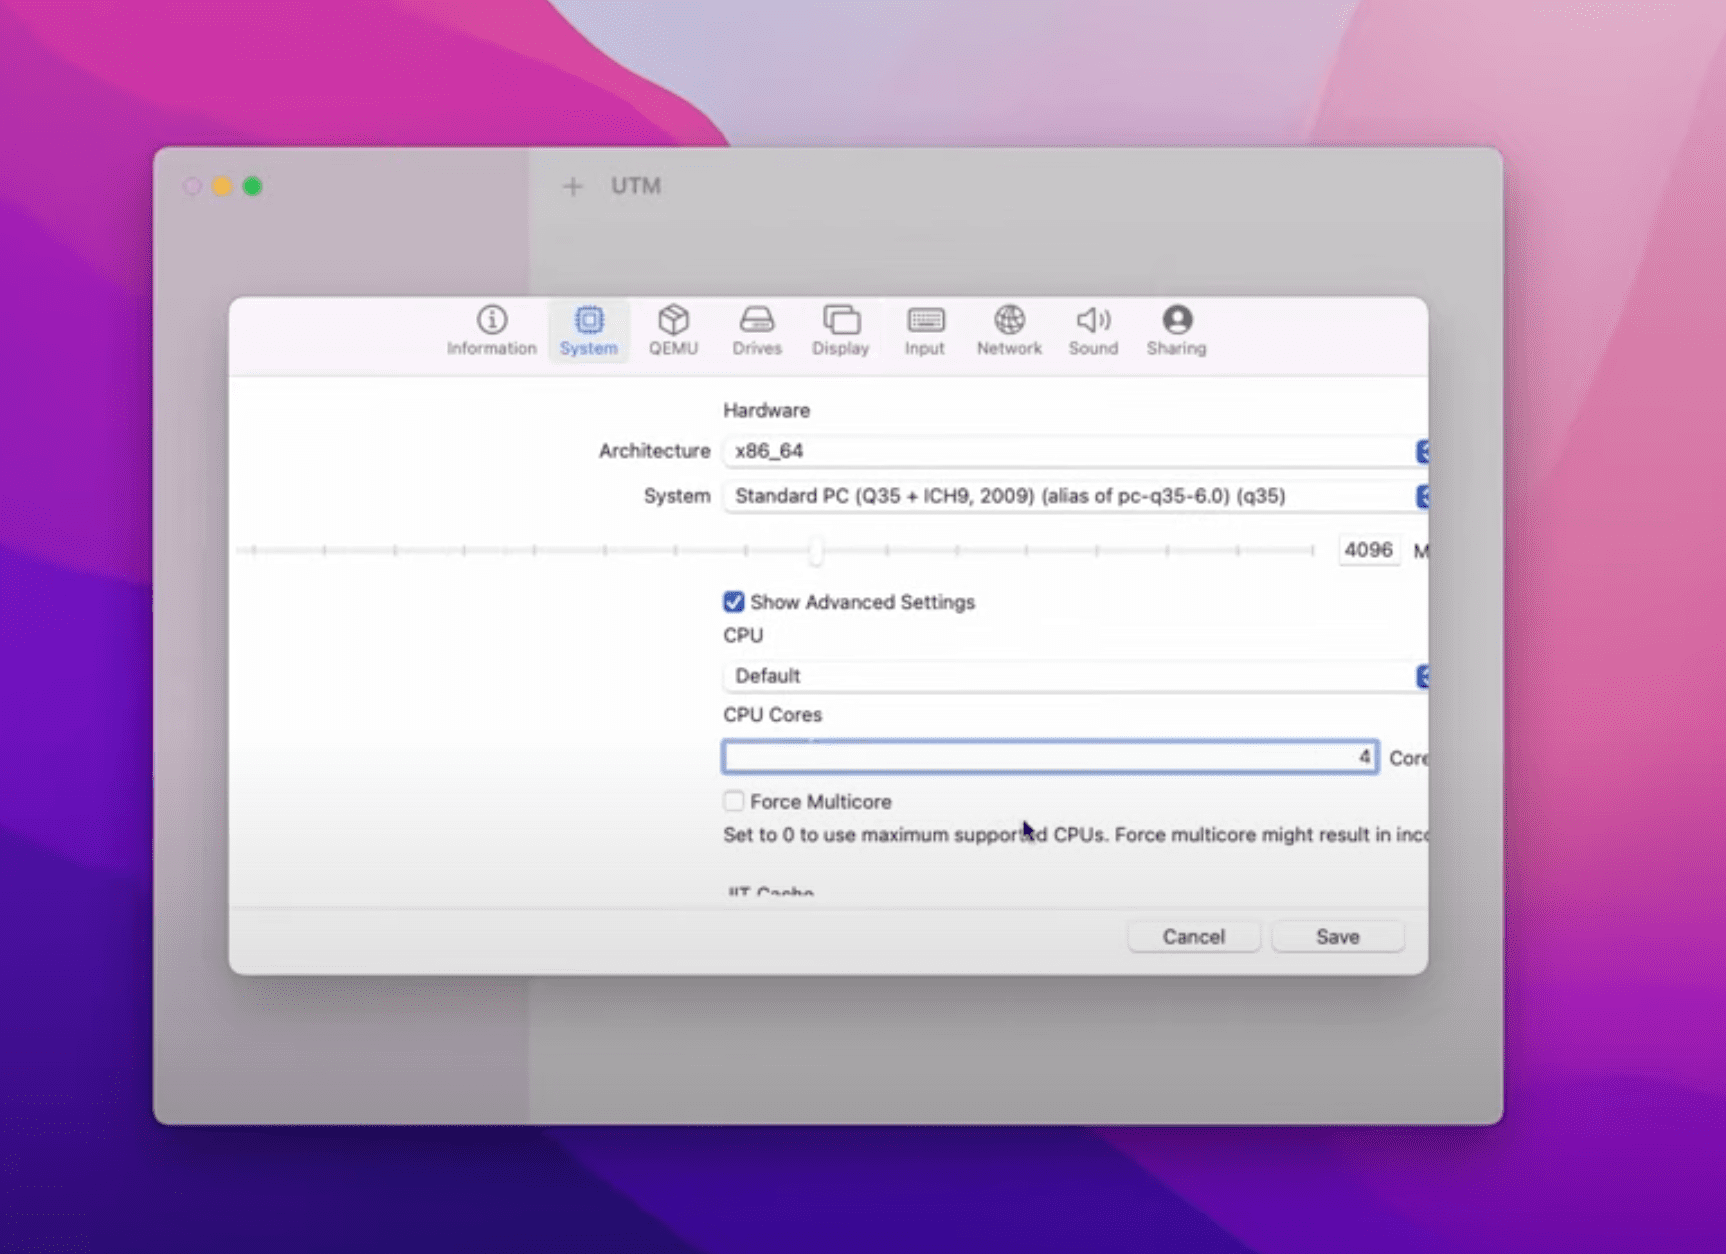
- Now, select Show Advanced Settings and allocate 4 CPU cores.
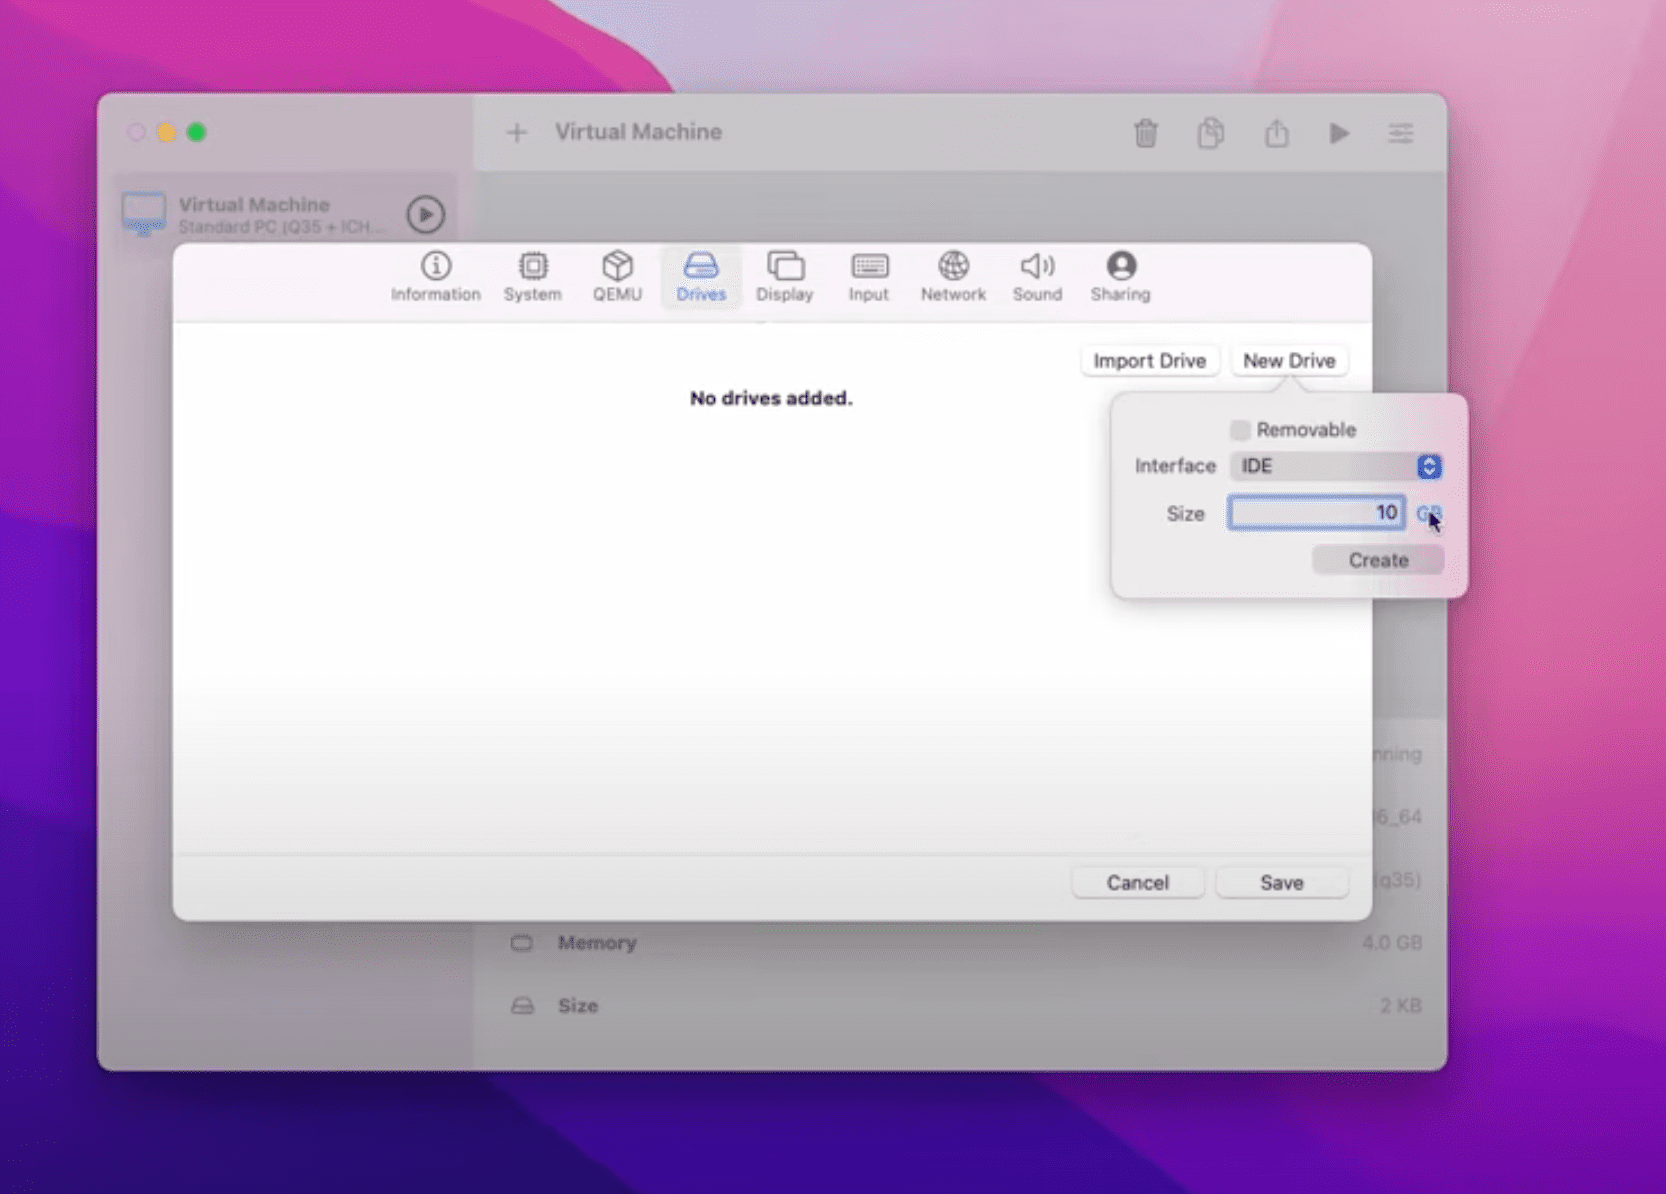
- Next, open the Drives tab, and select New Drive.
- Keep the Interface as IDE and allocate atleast 40GB of size.
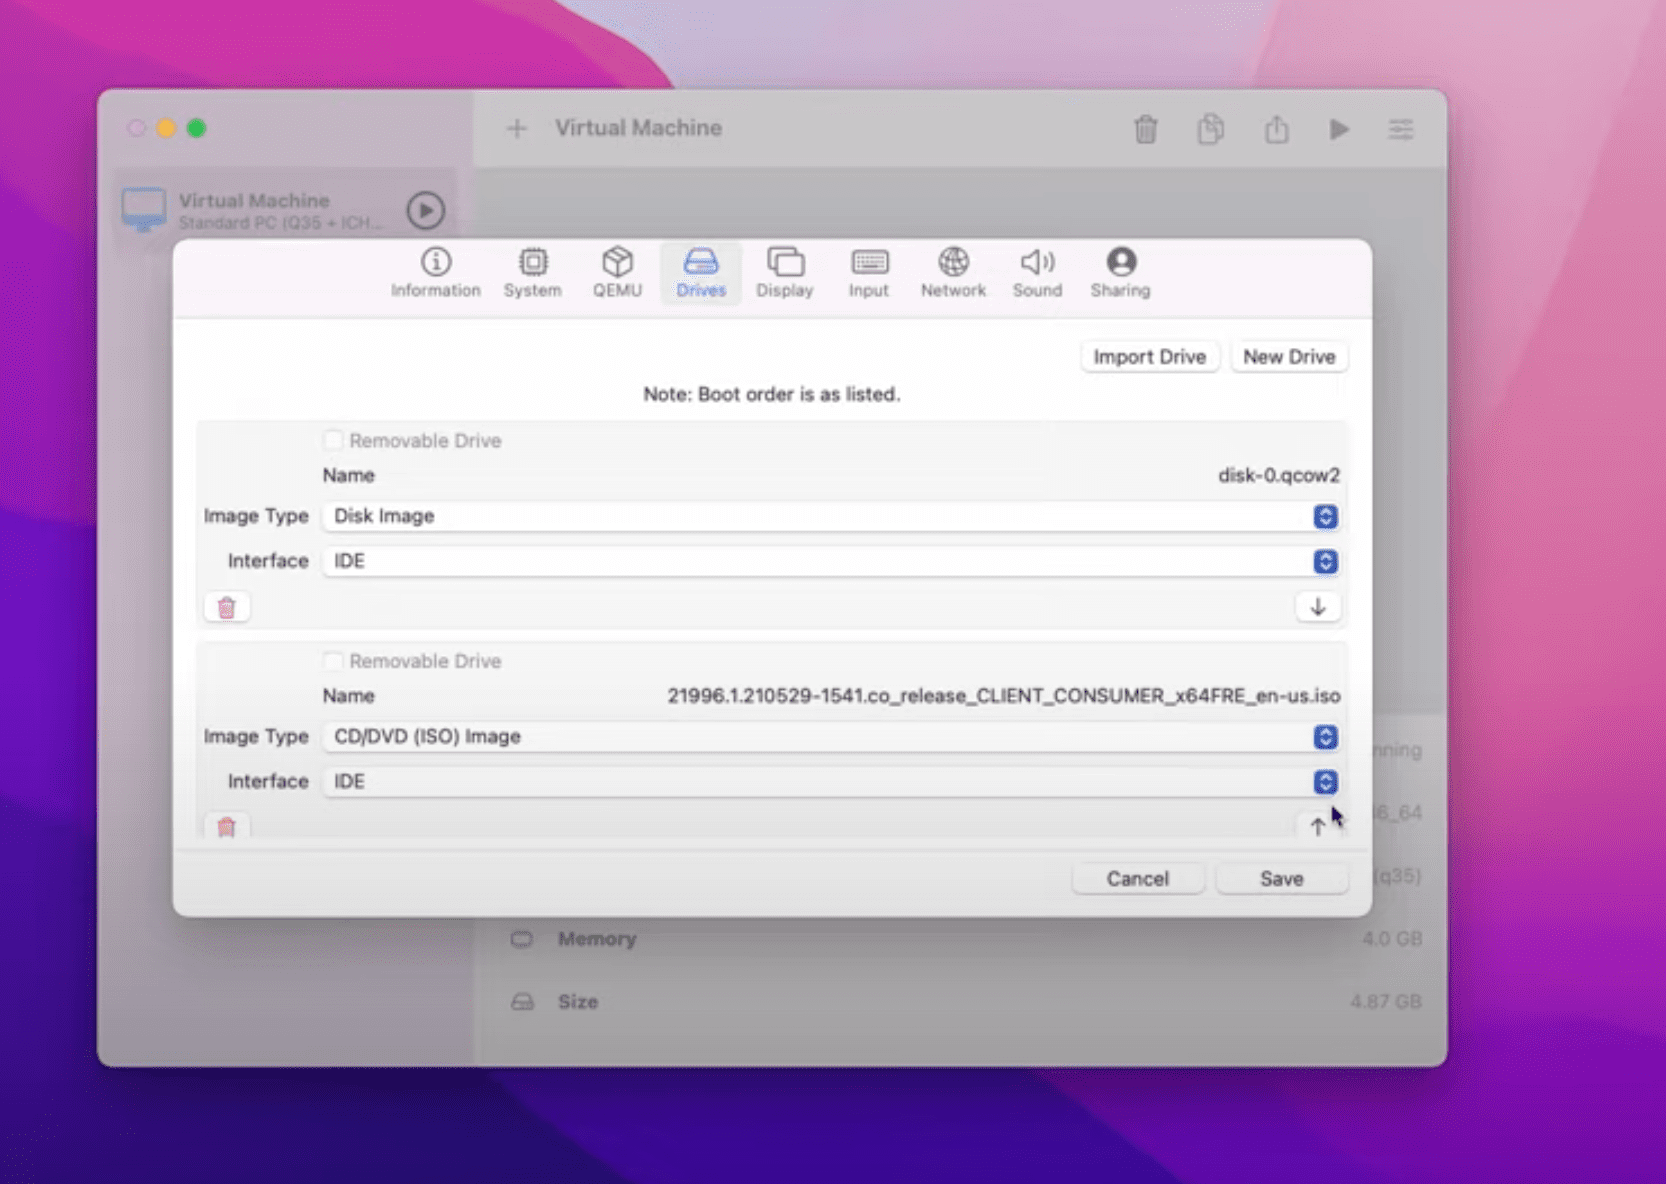
- Click Import Drive, and select the Windows 11 ISO file, then click Save.
Note: We won’t be able to provide either the copy or download link of Windows 11 as Microsoft Japan has recently registered a DMCA complaint against Beebom, an Indian technology news publication, for distributing unreleased Windows 11 ISO file.
- Now, start the Virtual Machine, and install the Windows 11 according to the steps mentioned during the installation process.
Also Read: Xiaomi Mi 11X Pro Review – A Much Needed Flagship Killer
Voila, now your Mac is running Windows 11.
However, there’s one thing to remember that the installation process would be taking more than usual time as the emulation of the x86 Operating System is relatively slow. Moreover, the whole experience won’t as smooth as running Windows through Parallels.
Source: Andrew Tsai
is it stable?
looks stable if you got a lot of time… It’s running very very very very slowly. You can’t really use it normally, just ok for a preview…
Thanks for sharing
Bootcamp would be better, but even on the old Mac’s win 11 won’t run due to Tpm chip requirement. Yes you can hack for now but good luck with updates
Windows 11 (also known as Windows Preview 20000.50 and later updates work in Parallels 16.5 on an M1 mac mini!!!! :-))
Thank you